This tutorial explains the step-by-step procedure on how to configure Adsense auto ads for amp WordPress pages. If your website is already approved on Google’s Adsense and you have recently configured the AMP version for mobile devices then this guide will help you to display Google’s auto ads on every amp page.
Google helps website owners to publish ads from different advertisers to the targeted audience and thus earn money as a publisher. This publisher program is known as Google Adsense. The advertisements are basically text ads, interactive media ads, video, and image ads. Although, they recently shut down the text ads and replaced them with image advertisements.
After signing up for Adsense all you need to get your website approved and you can display ads to your site visitor to generate some income. Once the ads start appearing on your site, it all about how much organic traffic you can bring to your site and continue earning revenue from it.
It’s easy to configure adsense ads on your regular WordPress site. All you have to copy the ads code from the adsense code generator and paste it on your page as custom HTML. Alternatively, you can use a plugin such as Ad inserter in WordPress to inject ad codes automatically on preferred ad locations.
However, if you have an AMP version of your site for mobile devices, the process of setting up Adsense auto ads for AMP is different.
Is it possible to avoid auto ads on AMP?
Adsense auto ads automatically appear on your site after placing a single piece of code. The position of ads is controlled by Google for maximum impression. If you don’t like the auto ads feature you should be placing ads manually both on the default site version as well as AMP.
How to display Adsense auto ads for AMP WordPress pages
A simple way to enable AMP pages on your WordPress site is by installing a plugin called AMP developed by AMP project contributors. Then you need to add Adsense code blocks into your AMP site’s header and body section to start displaying Adsense auto ads for AMP pages.
Follow the steps below to display auto ads for AMP pages on your site.
Step 1: Install the AMP plugin
The AMP plugin is fully compatible with WordPress sites, easy to deploy, and needs a few clicks to customize the AMP appearance.
Okay, so first of all install the plugin on your site and activate it. Once activated your all your pages will have an AMP version.
Step 2: Get Adsense Ad for AMP
After configuring the AMP plugin, go to your Adsense account. Then follow these steps below:
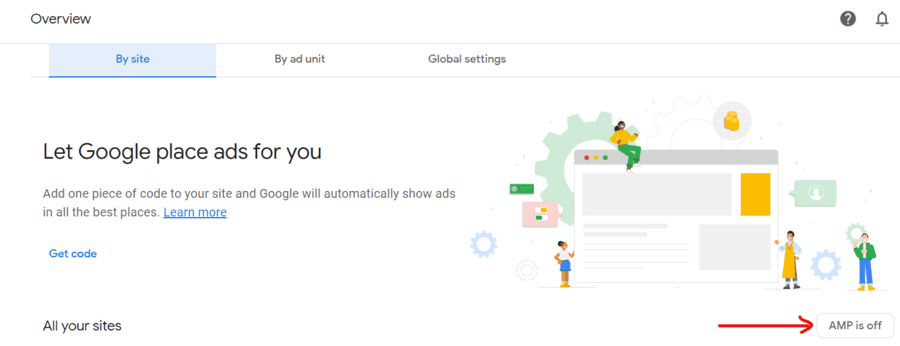
#1. On your Adsense left menu to navigate toAds > Overview.
#2. Then select the By site tab.
#3. Click on the “AMP is off” or “AMP is on” button on the right-hand side of the window.

#4. Make sure you have enabled the “Let Google place display ads on your AMP sites” option.

Step 3: Add the AMP codes into your AMP version
Now you need to add a script between <head></head> tags, that means in your site’s header section. After that, you need to place another code block into your AMP’s body section to adsense auto ads work correctly.
Copy the first code script that loads the relevant AMP auto ads library. It should be something similar to this:
<script async custom-element="amp-auto-ads"
        src="https://cdn.ampproject.org/v0/amp-auto-ads-0.1.js">
</script>
Now go to your WordPress dashboard and navigate to plugin > plugin editor. On the editor, select the AMP plugin and then edit the template > html-start.php page.
Then paste the code script before the ending </head> tag.
<head>
<meta charset="utf-8">
<meta name="viewport" content="width=device-width,initial-scale=1,minimum-scale=1">
<?php do_action( 'amp_post_template_head', $this ); ?>
<style amp-custom>
<?php $this->load_parts( [ 'style' ] ); ?>
<?php do_action( 'amp_post_template_css', $this ); ?>
</style>
<script async custom-element="amp-auto-ads"
        src="https://cdn.ampproject.org/v0/amp-auto-ads-0.1.js">
</script>
</head>
Once done, copy the second piece of code and you have to paste it inside the body section of your AMP page. On the same html-start.php page, find the <body> tags and add the code script.
<body class="<?php echo esc_attr( $this->get( 'body_class' ) ); ?>">
<amp-auto-ads type="adsense"
        data-ad-client="ca-pub-7255780745641035">
</amp-auto-ads>
<?php
do_action( 'amp_post_template_body_open', $this );
Once done, update the file and check any of your AMP pages. You should see consecutive Adsense ads on your AMP pages.
That’s how you can add adsense auto ads for amp pages on the WordPress site. There is another way to add these codes via your theme function too.
Additional article: How to fix Razer Synapse not opening issue
How to add Adsense auto ads for AMP page using theme function
Adding AMP codes into your AMP plugin files may result in losing those changes once the plugin is updated. So a better approach is to add the AMP codes via a WordPress theme’s function.php file.
To add AMP header and body codes into WordPress theme’s function file follow these steps.
Navigate to dashboard > Appearance > Theme editor.
Then select your current theme and edit the function.php file.
Then copy the first piece of the AMP header code and add it into this code block. Then you need to add the complete code into your function.php file.
AMP header code looks like this:
add_action('amp_post_template_head','adsense_amp_head');
 function adsense_amp_head($amp_template) {
 ?>
 //Paste AdSense AMP header code here
 <?php
}
And, AMP body code looks like this:
add_action('amp_post_template_footer','adsense_amp_footer');
function adsense_amp_footer($amp_template) {
?>
//Paste AdSense AMP body code here
<?php
}
After this save the function.php file and you’re done. Your AMP page should start displaying the Ads after new minutes. If not, try clearing your website cache.
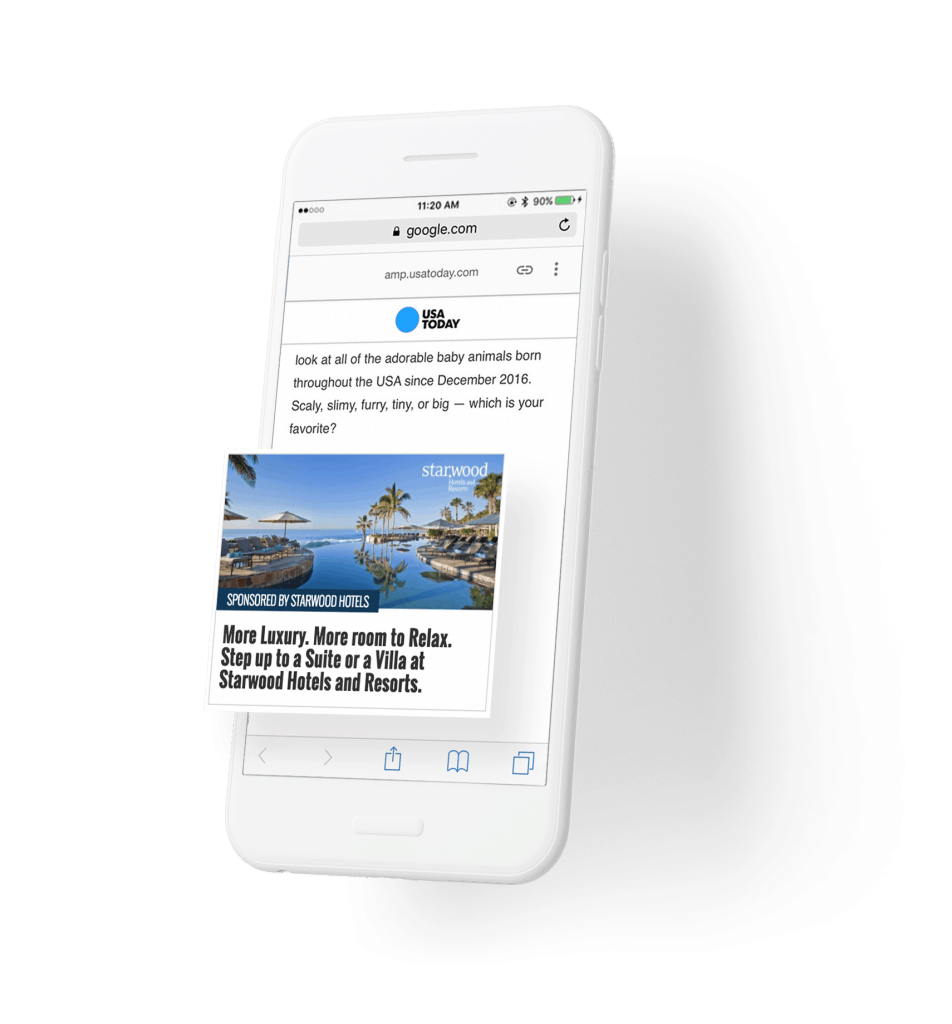
Check this screenshot of the AMP page with Adsense ads configured this same way.

Additional posts:
9 solutions to fix WhatsApp not working on wifi issue
Pokémon Sword and Shield Toxel Evolution: Tricks to Evolve Into Toxtricity
